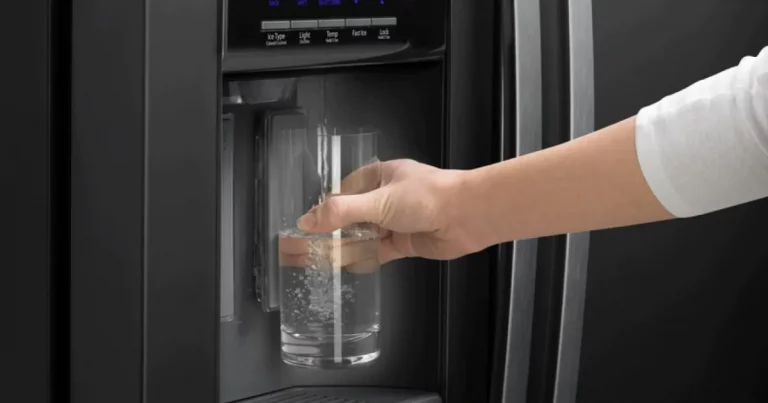
How To Make A Homemade Water Filter Without Charcoal
How to Make a Homemade Water Filter Without Charcoal
It is possible to make a homemade water filter without charcoal. Normally, in a water filter system, activated charcoal serves the purpose of entrapping impurities. But there are other alternative materials that are also capable of entrapping impurities from water.
Therefore being in a situation where you can’t access activated charcoal doesn’t mean that you have to drink impure water. All you need is an alternative material to entrap impurities from the water.
Then you can proceed to make a reasonably effective filter.
Here, we will be looking at the simple steps you should follow, in making a homemade filter without using charcoal. The objective is to end up with a filter that makes water that was obviously dirty look clean.
Finding an alternative to charcoal for water filtering purposes

The first step is to figure out what you will use, instead of charcoal, to remove impurities in the water.
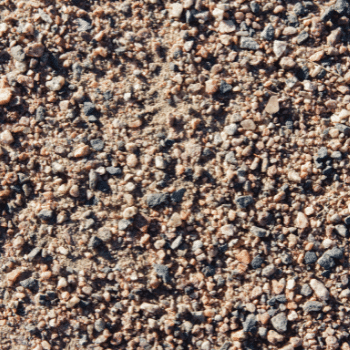
This alternative material needs to be one that is capable of trapping impurities from water. One of the best materials in that regard is sand. That is therefore the material we will be using in this case.
To further enhance the sand’s efficacy, we will be using it alongside gravel and a piece of cloth. Ideally, the sand you use should be reasonably clean.
For the best results, you need to ensure that you are using both fine and coarse sand. Therefore you need equal quantities of fine sand and coarse sand.
You can obtain reasonably clean sand from a riverbank. You also have the option of digging soil up, until you access the sandy layer.
Either way, you need to ensure that you have good sand for the purpose. If you are setting up a small filter system, you won’t actually need too much sand. Suppose, for instance, you are setting up a filter using a one-liter bottle.
In that case, you would only need a handful of fine sand and another handful of coarse sand. It is actually the gravel that you are likely to need more of.
Again suppose, for instance, that you are setting up a filter using one little bottle. In this case, you would need enough gravel to half-fill the bottle. We would thus be looking at something like 7-10 handfuls of gravel.
Factors Supporting Sand and Gravel
Two factors make sand and gravel ideal alternatives to charcoal in water filtration.
First is the fact that sand and gravel have a very good capability to entrap impurities from water.
Unlike, say, ordinary soil, they don’t absorb the water. Instead, they let it pass through – after entrapping the impurities in it.
And water can move through layers of sand and gravel reasonably fast. Thus, upon pouring dirty water into one end of the filter, you don’t have to wait for too long.
It emerges from the other end (having been filtered) reasonably fast. The other factor is that sand and gravel are reasonably easy to find. There is hardly anywhere you can’t find sand and gravel.
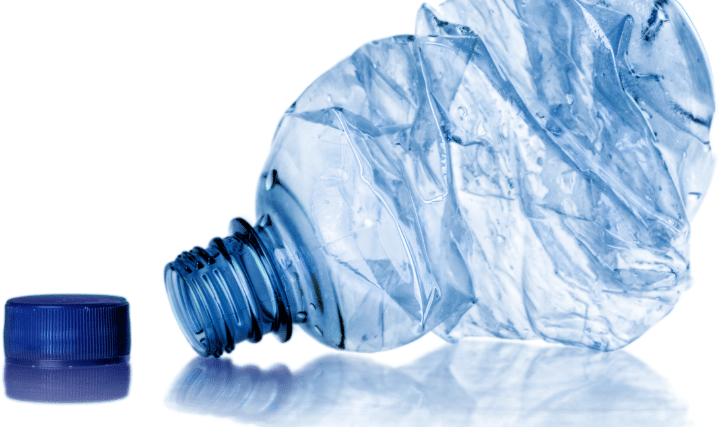
Getting a suitable bottle for Making Homemade Water Filter Without Charcoal
Ideally, the bottle you use should be one that is made of plastic. It should also be a clear bottle. The size depends on the quantity of water you wish to be filtering.
If you wish to be filtering more water, you will obviously need a bigger bottle. If you wish to be filtering modest amounts of water, you can use a smaller bottle.
The only two requirements are that the bottle should be clear, and made from plastic.
For a start, you can use a one-liter bottle… But what if you are in a situation where you can’t get a clear plastic bottle? In that case, you can make use of any other type of bottle that is available.
While a clear plastic bottle is preferable, other types of bottles can still work in this application.
The most ideal bottle here is one of those that have a narrow nozzle and a broad base. The ones in which bottled water (and soft drinks) are sold are therefore quite ideal.
The objective is to have a system where you would be pouring in the dirty water through the broad end. Then the water undergoes purification inside the bottle.
You finally tap it out through the narrow end. This is why that bottle design is ideal.
Preparing the bottle for use as a filter
There are three things you need to do, in terms of preparing the bottle for use as a filter.
Firstly, you need to clean it up.
This is assuming that it is just a bottle you picked up from somewhere. Because you aren’t sure about its cleanliness, you have to start by washing it. Just make it as clean as you can.
This is particularly important if you intend to be using filtered water for drinking. In that case, you can only have peace of mind if the filter bottle you are using is clean.
Secondly, you need to cut off the bottle’s bottom end.
The objective is to create a big opening. This is important because it is through this big opening that you will be pouring the sand and gravel later.
It is also through the big opening that you will be pouring dirty water into the filter. You will be doing that so that the water can emerge from the other end clean.
Just find a cutting tool through which you can slice off the bottle’s bottom end. You need to cut quite close to the base. This is to ensure that you don’t end up reducing the bottle’s size too much.
Thirdly, you need to remove the bottle’s cap.
If the cap remains in place, it will mean that the filtered water can’t come out. Therefore it is important to remove the cap. In its place, you need to put a piece of cloth.
Then secure it with a rubber band (or some other similar material). Ensure that it is properly secured. This is to ensure that it won’t come off easily.
Remember, you will be pouring in gravel and sand later. If the piece of cloth is not properly secured, the weight of the gravel and sand will push it out.
You, therefore, need to ensure that you secure it firmly. By the way, what is the purpose of this piece of cloth? Well, the piece of cloth will be further filtering the water, before it comes out of the system.
We want to end up with a system where the water first gets filtered by the sand and gravel. Then any impurities that pass through are captured by the piece of cloth at the other end of the system.
Setting up the filtration system
The actual process of setting up the filtration system has four key steps.
In the first step, you half fill the filter bottle with gravel. This is just a question of pouring the gravel into the bottle, through the wide opening.
This is the wide opening you would have created by cutting off the bottle’s bottom end. So you just hold the bottle upside down.
Then you pour gravel into it. The gravel won’t fall out at the other end, because you will have secured a piece of cloth there. So you will have to start by figuring out where the half-full mark for the bottle is.
Then ensure that the gravel you pour inside it at least reaches that mark.
In the second step, you get some coarse sand on top of the gravel. The goal is to ensure that you have a layer of coarse sand right above the gravel. This should be a roughly 7-centimeter layer of coarse sand. That is, if you are using a liter filter bottle, ensure that you get a 7-centimeter coarse sand layer.
In the third step, you get some fine sand on top of the coarse sand. The objective is to ensure that you have a layer of fine sand right above the coarse sand.
Again, this should be a roughly 7-centimeter layer of fine sand. That is 7 centimeters if you are using a one-liter bottle.
Therefore when water is poured into the system, it would first be going through the fine sand. Then it would be going through the coarse sand.
Finally, it should be going through the gravel and the piece of cloth at the bottom. While moving through these elements, the water should become clean from all impurities in it.
The fine sand at the top is able to entrap most of the impurities from the water. The few that manage to pass through the fine sand get entrapped by the coarse sand.
And the very few that bypass the coarse sand are entrapped by the gravel. Anything that goes past the gravel still gets caught by the piece of cloth at the opening.
There is therefore no way simple physical impurities can escape this filter system…
In the fourth step, you place a container under the filter bottle. This is the container through which you will be collecting the filtered water.
Therefore it needs to be a clean container. And it should be of adequate size for the purpose.
Further, it should be capable of withstanding the weight of the filter bottle. That is the filter bottle, with the gravel, coarse sand, and fine sand in it.
It is of course the narrow end of the filter bottle which should be on top of the collection container. This is the end from which you removed the cap and secured a piece of cloth onto. Thus, the filter bottle should rest inverted, on top of the collection bottle.
Testing The Homemade Water Filter Without Charcoal Filtration system
Now that you have fully set up the filtration system, the next phase is where you test it.
The actual test will entail pouring dirty water into the filter system. So you pour the dirty water through the wide opening. Then you wait for the water to go through the system.
This means that the water will go through the fine sand at the top. Then it will go through the coarse sand in the middle. Thereafter it will go through the gravel at the bottom.
And it will pass through the piece of cloth at the other end.
You will know that the system is working as it should if the water comes out looking clean. You can pour in water that is visibly dirty (for instance, muddied water).
Then wait for it to go through the filtration system. If it comes out of the other end looking clear and clean, you know that the system is working.
Besides making the water to look cleaner, the system is also likely to improve the water’s taste and smell. It may not be as thorough in doing so as activated charcoal.
But it would definitely have been helpful. Using water that has gone through this system is better than using completely unfiltered water. If you pass water through this system, then boil it, it should be fairly portable.
The filter bottle will be half-full of gravel, with 7-centimeter layers of fine and coarse sand respectively. This means that there will be relatively little space in it for water.
Consequently, you may need to be pouring water into it little by little. So you pour a little water, wait for it to be filtered, and emerge from the other end.
Thereafter you pour a little more… and so on: until you get the volume you desire. The process of the water going through the fine sand, coarse sand, and gravel is likely to be quite fast. But there may be a bottleneck (quite literally) at the end where it emerges.
You will therefore need to have some patience while using the system.
Maintaining the filtration system
What you may need to be doing regularly, in terms of maintenance, is changing the gravel and sand frequently.
That is because the gravel, coarse sand, and fine sand you put initially may soon get saturated with impurities.
Therefore in order to ensure optimal performance of this homemade water filter, you can be changing these elements frequently.
Ultimately, as long as the gravel, fine sand, and coarse sand in the filter are clean, it should work well.